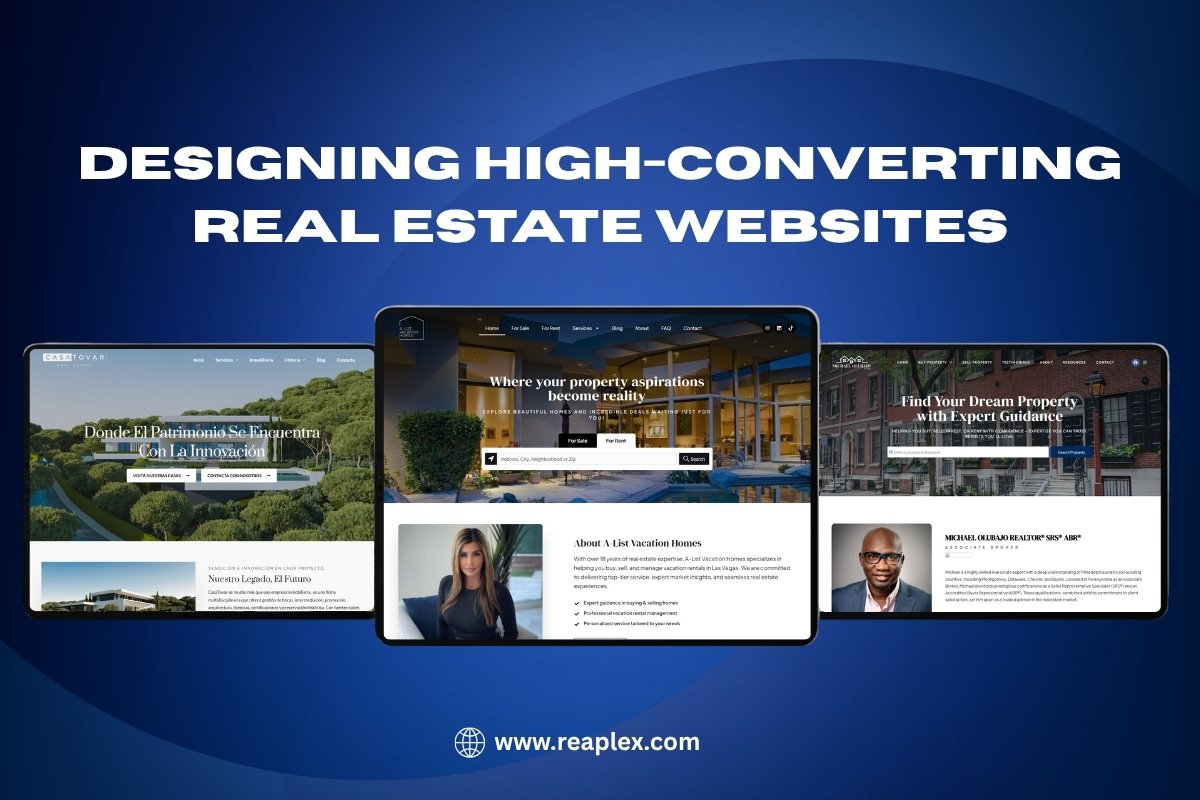
A Step-by-Step Guide by Reaplex — Real Estate Website Experts
In today’s world, your real estate business needs more than just word-of-mouth and yard signs. Your website is your digital storefront—a place where clients can browse listings, learn about you, and decide if you’re the right agent for them.
But here’s the truth: Not all websites are created equal.
At Reaplex, we specialize in creating powerful, professional, and easy-to-manage WordPress websites for real estate agents, brokers, and property businesses. Whether you’re starting from scratch or rebranding, this guide will walk you through the most important steps in building a website that works for you.
Let’s break it down—step by step.
Step 1: Know Your Purpose and Goals
Before jumping into design, take a moment to think about what you want your website to do.
Are you:
- Showcasing property listings?
- Trying to generate leads?
- Promoting yourself as a local expert?
- Building a team or brokerage brand?
Once you’re clear on your goals, everything else—from layout to features—becomes easier to plan. At Reaplex, we always start by understanding your vision so we can design a site that fits your business perfectly.
Step 2: Choose the Right Platform – Why WordPress?
We often get asked: Why use WordPress for a real estate website?
Here’s why:
- Flexibility: You can add listings, blogs, maps, lead forms, and more
- SEO-Friendly: Built-in tools to help your site rank on Google
- Easy to Manage: Update content without any coding
- Scalable: Perfect for both solo agents and large brokerages
- Customizable: 100% design control to match your brand
At Reaplex, we use WordPress because it gives our clients a professional and powerful website that’s also simple to manage.
Step 3: Get a Domain & Hosting
Your domain is your web address (like www.YourRealtyName.com). Keep it short, clear, and related to your brand.
Next, you’ll need reliable hosting—this is where your website “lives” online. We recommend using fast and secure hosting providers, and we help all our Reaplex clients set this up properly.
✅ Tip: A slow website = lost clients. Always choose quality hosting!
Step 4: Install WordPress and Choose a Real Estate Theme
Once your domain and hosting are ready, it’s time to install WordPress (most hosting companies make this super easy).
Then, you’ll need a real estate-specific WordPress theme. This controls how your site looks and functions.
At Reaplex, we help you choose or create a theme that includes:
- Property listings with filters
- IDX/MLS integration
- Agent profile pages
- Responsive design for mobile and tablet
- Lead capture forms
Don’t worry about the technical setup, we handle all of this for you.
Step 5: Add Essential Pages & Features
Here are the must-have pages we include in every real estate website:
- Home Page – A strong first impression with a search bar or featured listings
- Listings Page – Shows current properties with filters and maps
- About Page – Tells your story and builds trust
- Contact Page – Easy ways to reach you (form, email, phone, social links)
- Blog – Share updates, local market news, and tips to improve SEO
- Testimonials/Reviews – Builds credibility with real client stories
- Communities/Neighborhood Pages – Shows your local expertise
We also add key features like:
- Property search filters
- Mortgage calculators
- Google Maps
- Chat buttons
- Email newsletter sign-ups
Step 6: Integrate IDX/MLS Listings
One of the most powerful tools for real estate websites is IDX integration. This lets you show live listings from your MLS right on your site, so it updates automatically.
At Reaplex, we specialize in setting up and customizing IDX so your website stays current, looks professional, and helps buyers find homes easily.
No need to manually upload listings, let your site do the work for you.
Step 7: Optimize for SEO & Mobile
A beautiful website is great, but it needs to be found on Google and easy to use on any device.
We optimize all Reaplex websites with:
- Fast loading speeds
- SEO-friendly content and structure
- Mobile responsiveness
- Proper image compression
- Clean code and security setup
Why? Because a fast, secure, and mobile-friendly site ranks higher, builds trust, and converts better.
Step 8: Add Lead Capture and Calls-to-Action
Now that visitors are landing on your site—how do you turn them into leads?
We design every site with clear calls-to-action like:
- “Schedule a Tour”
- “Get a Free Home Valuation”
- “Contact Me”
- “Sign Up for New Listings”
Plus, we integrate smart lead capture forms and connect them to your email or CRM, so you never miss a potential client.
Step 9: Keep It Fresh With Blog Content
A real estate blog isn’t just for fun—it’s a powerful way to boost SEO, build trust, and show your expertise.
Write about:
- Local market trends
- Buying or selling tips
- Neighborhood guides
- Client success stories
- FAQs and advice
At Reaplex, we can even help you write and schedule content so your site stays active and helpful.
Step 10: Launch, Promote & Grow 🚀
Once everything is ready, we go live—and that’s just the beginning.
We help you:
- Announce your new site on social media
- Connect it to your Google Business profile
- Set up tracking (like Google Analytics)
- Continue updating your site with new listings or content
Your website isn’t just a one-time project, it’s a long-term marketing tool, and we’ll be here to support you every step of the way.
Conclusion: You Don’t Have to Build It Alone
Building a real estate website can feel overwhelming—but it doesn’t have to be. At Reaplex, we’ve helped hundreds of agents, brokers, and real estate teams launch websites that actually work.
We handle the tech, the design, the setup, and the ongoing support, so you can focus on what you do best selling homes and helping clients.
Want to build a real estate website that works for YOU?
📞 Book a free consultation today
🌐 Visit: Reaplex
📩 Email: contact@reaplex.com
Let’s build and grow your Business in one click…